 The Split Face and the Paint tools allow us to split the surface of a wall and apply a different material to that portion of the wall.
These tools are great, but there is nothing built in the program to vary the lineweight automatically based on the depth of view. It would be nice for Revit to allow us to set some depth distances to automatically switch lines that are in the forground to be thick and the lines in the distance to be thin. Maybe some day we will have that.
Another tool that I find handy that few people know about is the Silhouette Edge setting. This setting will allow you to beef up the lineweight of the silhouette edge. This setting is found in the Advance Model Graphics Settings dialog box.
 Inside the Advance Model Graphics Settings dialog box you can set the silhouette edges to any linetype you have in your project. This will automatically apply this linetype to the outside edges of your view.

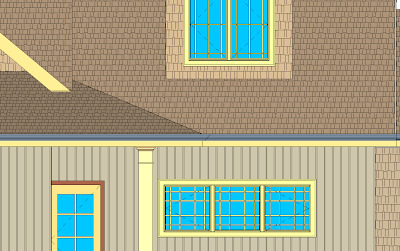
Here is a before and after view with the Silhouette Edges changed to Medium Lines.
Silhouette Edge set to None
 Silhouette Edges set to Medium
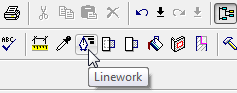
This should give you a head start on enhancing your elevations. You can still use the Linework tool with the Silhouette Edges turned on.