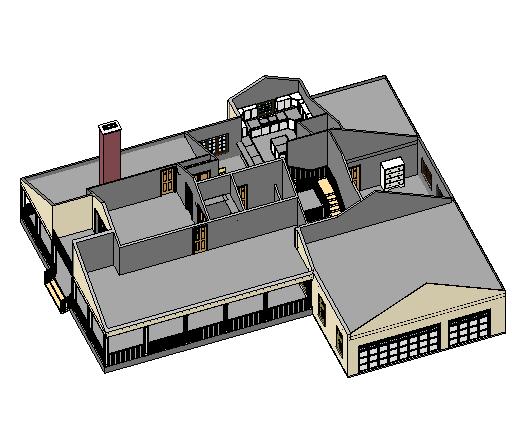
Spaces in Revit are called Rooms. They work similarly to ADT with a few exceptions. Rooms in Revit define the use of the space. They are simple enough to define. You begin by clicking on Room on the Basic tab of the Design Bar. Then as you roll over your plan you will see the room limits highlighted by enclosed walls. On the Options bar you have the option to place the Room Tag as you are defining the rooms. You also have options to set the upper limits of the room, the rotation of the tag, and naming the room.


Once the rooms are defined, you have a couple of additional options to define the extents of each room. First, on the Room and Area tab of the design bar, you can use the Room Separation tool to draw lines to define the extents of the room. This is useful when you have an open area that is divided up into separate spaces. As you draw room separations, the rooms that are already defined will be updated to extend to the room separation lines. The area outside of the room separation line will not be part of any rooms. You can use the Room tool to define the new room that was created by the room separation tool. So like ADT, you can use either walls or lines to define the extents of your rooms.
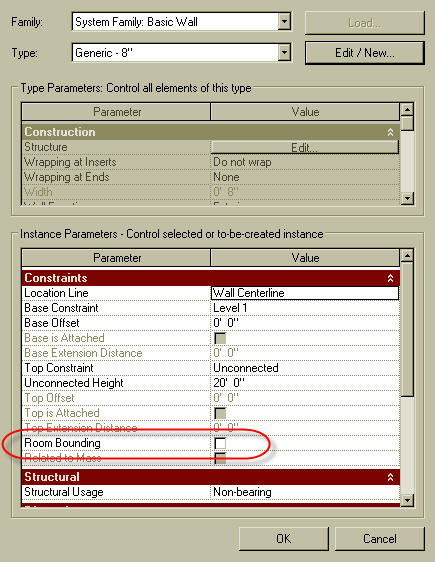
You also have the ability to select on an individual wall and go into the properties to tell it not to use this particular wall as a room boundary. This will be useful when working on a restroom with toilet stalls. You will want to set the toilet partitions not to act as a room boundary. Simply uncheck the box in the options dialog box next to Room Bounding. If you make this change after the spaces are created you will get a warning dialog box because you will have two spaces that will be overlapping each other. In the warning dialog box click on Delete Rooms and one room will be deleted, leaving the new combined room.
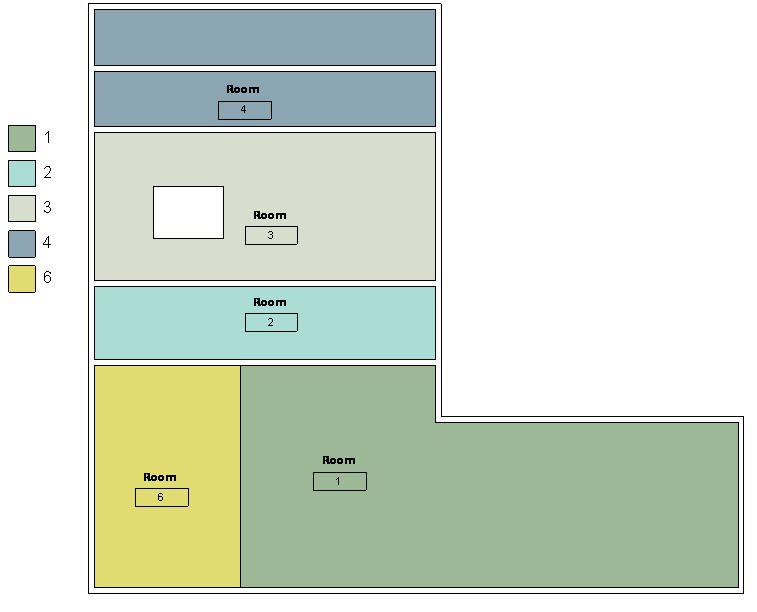
Rooms can be used to create schedules like square footage schedules or room finish schedules. You can also use Color Fills to create a colored floor plan for a graphical representation of the room extents.
 Rooms are similar to Spaces in ADT. They contain the information of the Room. With rooms you can define usage, finish materials, calculate square footage or volume information, or simply use them to insert your room tags.